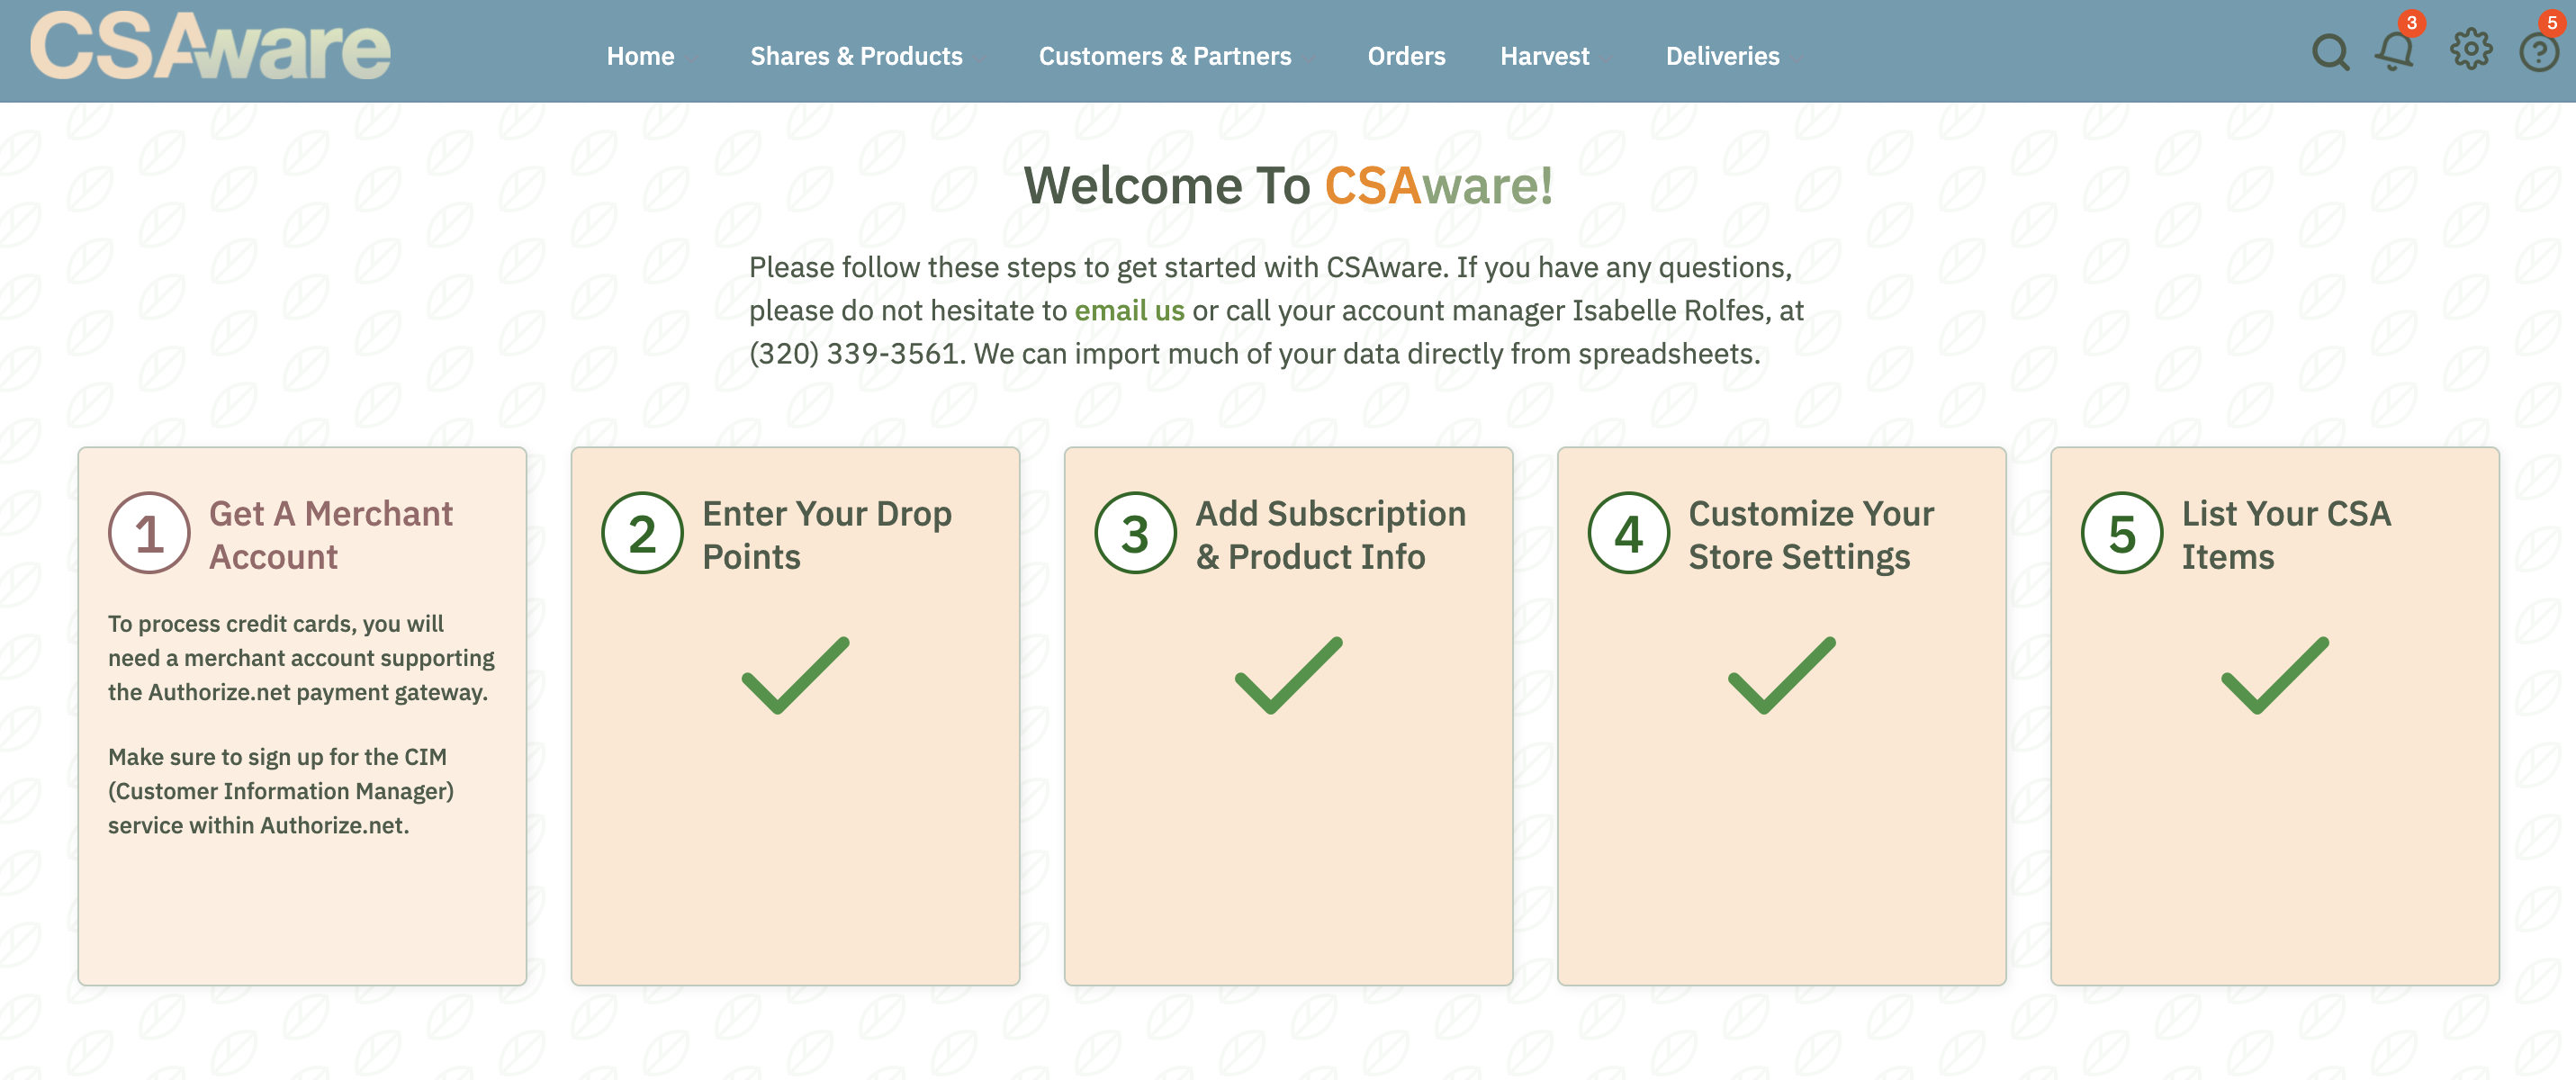
We know it is important to you to have a smooth and straightforward set-up experience so that you can launch CSAware as quickly as possible. When you log in to CSAware, you will see a special set-up page outlining five steps to complete before launch. These five steps include adding your CSA share and product listing information, setting up your merchant account for accepting credit card payments, adding your drop points, and listing your CSA items. As you complete each step in the set-up process, each of the five boxes will change from a text description of the step to a completed check mark.

1. Obtain a merchant services account.
Authorize.net is the product CSAware uses to collect payment from your members; either all at once or in a recurring manner. You are responsible for obtaining this: find a merchant account services provider and make sure they use A.net. LocalHarvest works closely with Dharma Merchant Services and they offer very competitive rates to CSAware users. Be sure to mention this relationship for the best possible deal.
Authorize.net will provide you access to an electronic drop box to receive payments from your members. They will provide you a “login” and a “key.” When you receive these items from Authorize.net, select the #1 checklist item, and carefully enter both your login and your account key in the appropriate screen locations. Press the “Save” button to complete your entry. Within your Authorize.net administrative interface, you will also need to turn on the CIM option. “CIM” stands for Customer Information Manager, and is necessary for operating CSAware.
2. Drop site set up.
Your storefront needs at least one drop site before going LIVE, if the farm itself is the only drop, please enter that data. More info on the specific drop site options available from the set up page. We can also copy drop site info from your LocalHarvest listing, let us know. Or if you have more than 20 drop sites it might be easiest to send us an upload in Excel. The spreadsheet template option is available ONLY before any data is entered.
3. Share set up.
One of the key steps as you begin to set up CSAware is to have a high-level understanding of the way shares, product listings, and SKUs are used in your online store. First, “shares” are the boxes you define and make available to the customer on a regularly scheduled basis. The information you put in when you “add a share” is used by the software but not directly visible to the public. “Product listings” provide detailed information for each item in your online catalog, including your shares and any add-on products you may offer. The software formats the product listing information into a page that is visible to the public via your online catalog. Each share could potentially have several different product listings or configurations, but most shares have a single product listing. The SKU, or “stock keeping unit,” is the standard identification of an item/product on sale, specifying the price and how you plan to collect payment for the product.
4. Store settings.
The Option Settings section defines the software interface with your CSA members. We suggest that you carefully review the individual items as they determine a good portion of your store’s behavior, and select appropriate settings for each item within this area. This is a long section, but we walk you through it!
5. List your CSA items.
To finish the set up process, we request you identify box items you grow or procure for your member's CSA boxes. A checklist is provided for your convenience. The CSA items list is the basis for the box-builder/Harvest records feature, and is mandatory for using customizable boxes (by price, by count, auto-customizable.)
0 Comments